



What Does Re-Rendering a House Actually Involve?
Re-rendering means stripping back some or all of a property's existing render and applying a brand new render system from scratch. It's the most thorough — and most expensive and disruptive — way to deal with failing, cracked or dated render, and for many properties it genuinely is necessary. But it's also the option that gets recommended by default far more often than it needs to be, because it's the option every rendering contractor is set up to sell.
This guide covers what the re-rendering process actually involves, realistic costs, and — importantly — how to tell whether your property genuinely needs a full re-render or whether a less disruptive, lower-cost wall coating would achieve the same result.
Do You Actually Need a Full Re-Render?
A full re-render is genuinely the right call in a specific set of circumstances:
- Bond failure is extensive across most of the wall, not isolated to one or two areas — confirmed by a tap test showing widespread hollow sounding render
- The existing render is the wrong system for the substrate and is causing ongoing problems that a coating over the top wouldn't resolve
- There's significant, structural-level damage to the render — large sections missing, or render so old and degraded it's beyond repair
- You're changing the wall's insulation specification (e.g. adding external wall insulation), which requires a new render system as part of that work
Outside of these situations — which cover a smaller share of properties than the volume of re-render quotes issued each year would suggest — a wall coating applied over the existing, sound render is usually a lower-cost, less disruptive route to the same outcome: a transformed, waterproof, guaranteed exterior. Our free survey includes a full tap test specifically to make this call honestly, rather than defaulting to the most expensive option.
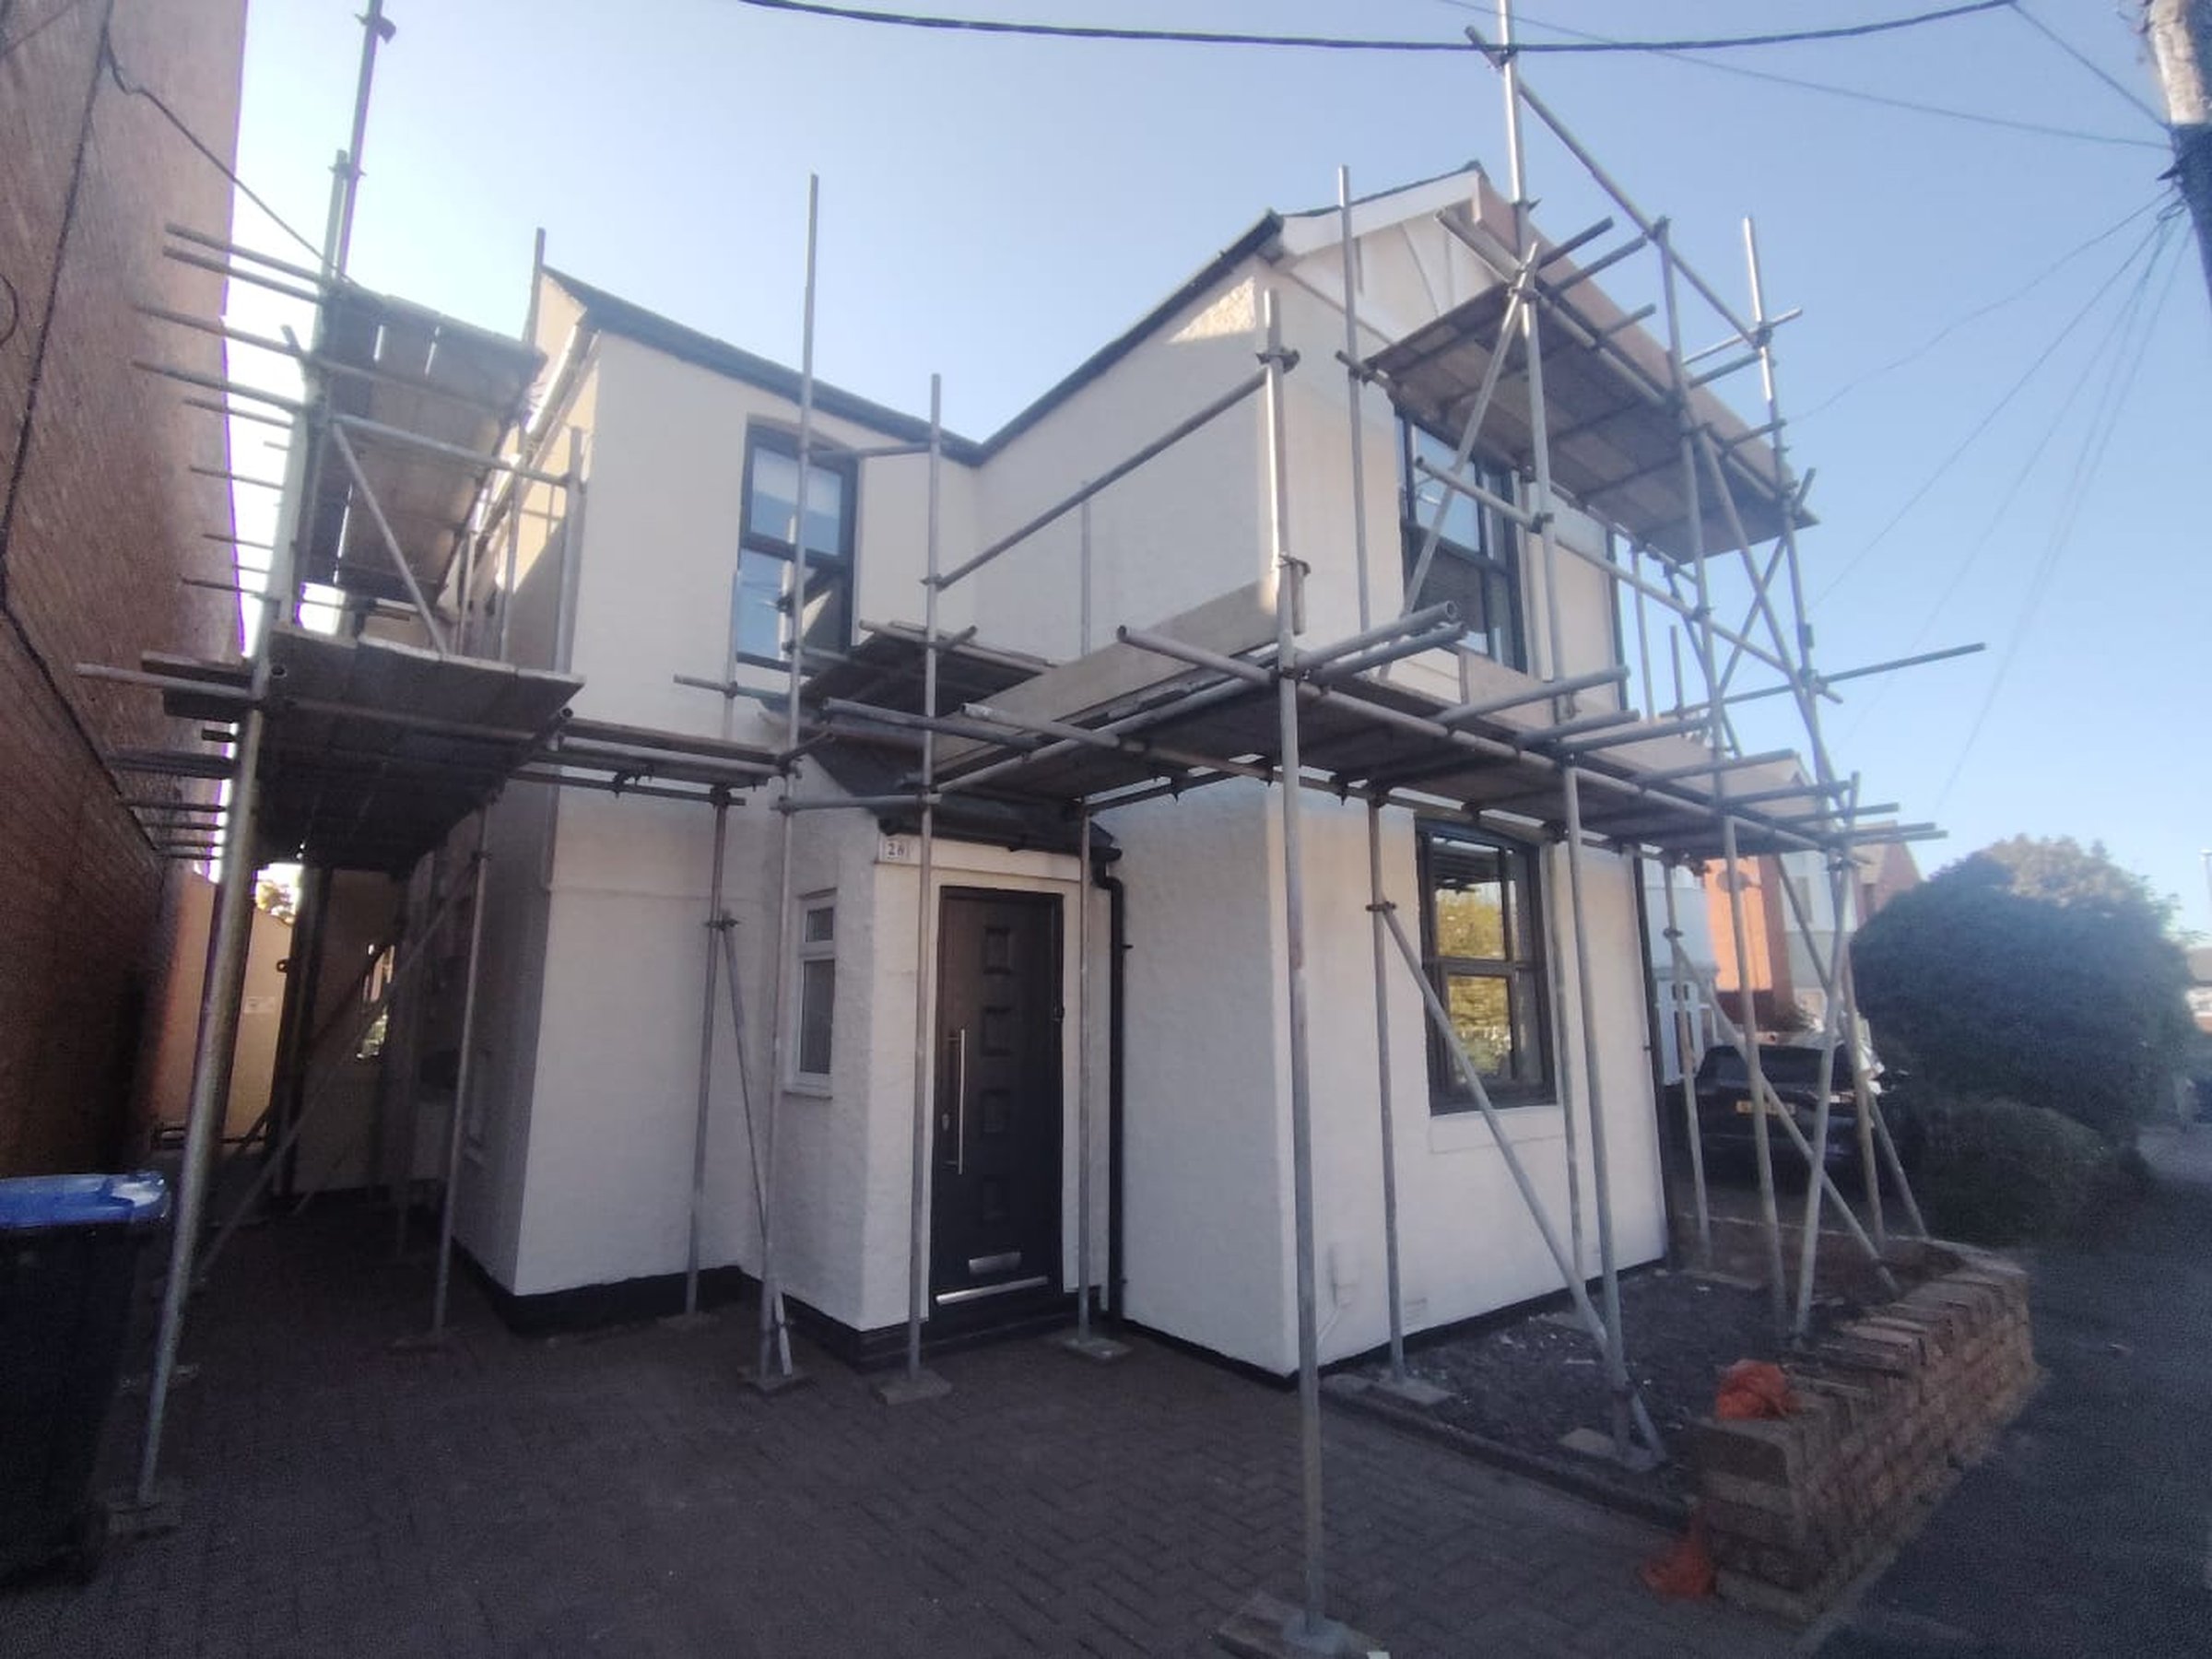
The Re-Rendering Process, Step by Step
Survey & Strip Out
Existing render fully removed back to the substrate
Substrate Repair
Brickwork or blockwork repaired, damp-proofing checked
Base Coat & Mesh
Bonding coat and reinforcing mesh applied where needed
Top Coat Finish
Final render coat applied and finished in your chosen texture
Each stage needs adequate drying time before the next begins, which is why weather and time of year affect scheduling more for a full re-render than for a wall coating, where fewer build-up layers are involved.
Choosing a Contractor for Re-Rendering
Because re-rendering is a significant, hard-to-reverse investment, choosing the right contractor matters more here than for almost any other exterior job. A few things worth checking before you commit:
- Manufacturer approval — is the contractor formally approved to apply the specific render system they're quoting for? Many manufacturer guarantees are void if installed by an unapproved contractor
- References and completed work — ask to see finished jobs, ideally more than a year or two old, so you can judge how the render has actually weathered rather than how it looked on completion day
- Written, itemised quotes — get at least three, and make sure each specifies the exact render system, scaffold arrangements, and what's included versus what might be extra
- Guarantee terms — ask exactly what's covered, for how long, and whether the guarantee is backed by the manufacturer, an insurance-backed scheme, or the contractor alone
- Direct employees vs subcontractors — some contractors subcontract render work out, which can affect accountability if something goes wrong later. Ask directly who will actually be on your property
This is exactly the same due diligence we'd recommend before any wall coating job too — see our Wethertex approved contractors guide for what genuine accreditation looks like in this industry specifically.
Re-Rendering a Single Wall or Elevation
Not every re-render job needs to cover the whole property. Where only one elevation has failed — commonly the most exposed, north-facing or weather-facing wall — re-rendering just that section is a legitimate way to control cost, provided a few things are handled properly. The join between old and new render needs careful detailing to avoid a visible seam or a weak point where water can get in later. Colour and texture matching also needs planning in advance, since a newly rendered wall will typically look brighter and more uniform than render that's weathered for several years on the rest of the property — some homeowners choose to have the whole property refreshed with a coating afterwards specifically to bring everything back to one consistent finish, which is often more cost-effective than trying to perfectly colour-match a patch of new render to old.
What to Expect Day by Day During the Work
Knowing roughly what happens and when helps set realistic expectations for the disruption involved:
Days 1–2
Scaffold erected, property protected, old render stripped back
Days 3–5
Substrate repairs, damp-proofing checks, bonding coat applied
Days 6–10
Base coat and mesh, with drying time built in between layers
Days 10–15
Top coat finish applied, scaffold removed once fully cured
This timeline stretches significantly in wet or cold weather, since each layer genuinely needs to dry before the next goes on — rushing this stage is one of the root causes of the bond failure and cracking problems covered in our render falling off guide.
Re-Rendering Listed Buildings and Conservation Areas
Properties in conservation areas or with listed status face additional considerations before any re-rendering work begins. Listed buildings often have specific requirements around the render type, texture and even the method of application — traditional lime render, for example, is frequently mandated over modern cement-based systems on older solid-wall properties, since cement render can trap moisture in a way that lime render doesn't, causing long-term damage to historic masonry. Conservation area restrictions typically focus more on external appearance — colour, texture, consistency with neighbouring properties — than on the render system itself, but can still require formal consent before work starts. Getting this wrong isn't just a compliance issue: applying the wrong render system to a historic solid-wall property is a common cause of exactly the kind of damp and bond failure problems covered in our render falling off guide, since older walls behave very differently to modern cavity wall construction.
Best Time of Year to Re-Render
Because a full re-render involves multiple layers, each needing to dry and cure before the next is applied, timing matters more here than for almost any other exterior project. Spring and early autumn are generally the most reliable windows in the UK — mild temperatures, moderate humidity, and a lower chance of the heavy, prolonged rain that can force work to pause mid-layer. Render applied in temperatures below around 5°C risks improper curing, which can compromise the finished system's strength and longevity even if it looks fine on the day. Height of summer can bring its own issues too — render drying too fast in strong heat and direct sun can crack before it's properly cured. A reputable contractor will factor weather into your project timeline rather than pushing ahead regardless, and it's worth being wary of anyone offering to start immediately in the depths of winter without qualifying how they'll manage curing conditions.
Budgeting and Paying for Re-Rendering
Given the scale of cost involved in a full re-render, it's worth budgeting realistically rather than working purely from a headline quote. A sensible approach is to get the fixed, all-inclusive price confirmed in writing before work starts, build in a contingency of around 10–15% for the substrate repairs that are commonly only discovered once old render is stripped back, and clarify the payment schedule upfront — reputable contractors typically stage payments against project milestones (start, midpoint, completion) rather than requesting full payment before work begins. If a contractor is asking for the entire cost upfront, that's worth treating as a caution flag rather than standard practice.
Re-Rendering and External Wall Insulation
If you're considering upgrading your property's thermal performance at the same time as dealing with failing render, it's worth knowing how the two projects interact. External wall insulation (EWI) involves fixing insulation boards to the exterior wall before a new render system is applied over the top — meaning if EWI is part of your plans, a full re-render (or at least a new render layer) becomes necessary regardless of the condition of your existing render, since the insulation changes the wall build-up completely. This is a genuinely different scope and cost to a standard re-render or coating project, typically £100–£150+ per m² all-in once insulation, render and scaffold are included, but it also delivers meaningful energy bill savings that neither a standard re-render nor a wall coating provide on their own. If thermal performance isn't a priority and your existing wall's insulation is adequate, this route isn't necessary — but it's worth ruling in or out explicitly before committing to a standard re-render, since doing the render work twice within a few years is the most expensive outcome of all.
Understanding Render Guarantees and Warranties
Not all "guarantees" offered with a re-render mean the same thing, and it's worth understanding the difference before signing anything:
- Manufacturer guarantee — covers defects in the render material itself, typically 10–25 years depending on the system, but usually only valid if installed by an approved contractor following the manufacturer's specification exactly
- Contractor guarantee — covers workmanship, backed by the contractor's own business. Only as reliable as the contractor's longevity — worth checking how long they've been trading
- Insurance-backed guarantee — a workmanship guarantee underwritten by a separate insurer, meaning it remains valid even if the original contractor goes out of business. Generally the strongest form of protection available
Ask specifically which type is being offered, get it in writing, and clarify what would actually be covered if something did go wrong — a vague verbal assurance of "we guarantee our work" isn't the same as a documented, insurance-backed guarantee with clear terms.
How Much Does Re-Rendering a House Cost?
| Property Size | Full Re-Render Cost | Coating Over Sound Render |
|---|---|---|
| Single wall / small area | £5,000–£9,000 | £3,500–£5,000 |
| Semi-detached | £10,000–£16,000 | £5,000–£8,000 |
| Medium detached | £19,000–£26,000 | £12,000–£15,000 |
| Large detached | £26,000–£35,000+ | £15,000–£22,000 |
These figures assume a straightforward job with reasonable access. Removal of particularly stubborn old render, asbestos-containing older materials (which need specialist removal), or complex detailing can all push full re-render costs higher. For the full property-type breakdown, see our rendering cost by property type guide.
Choosing a Render System When You Re-Render
If a full re-render is genuinely the right call for your property, the render system you choose has a big impact on how long it lasts and how much maintenance it needs afterwards:
- Sand & cement — cheapest, but least flexible and most prone to cracking over time, particularly on walls that move or flex slightly
- Monocouche (one-coat) — a good mid-range option for standard block or brick walls, reasonably quick to apply
- Polymer-modified — better crack resistance than traditional render, a sensible upgrade for properties that have had cracking issues before
- Silicone render — the most durable and self-cleaning of the common systems, at the highest material cost
See our full silicone render cost guide for a deeper look at that specific system, and our rendering cost guide for pricing across all render types.
Common Mistakes When Re-Rendering
A handful of avoidable mistakes account for a large share of the render failures we're called out to survey a few years down the line:
- Rushing the strip-out — leaving small areas of old, poorly bonded render in place rather than taking it back to a genuinely sound substrate
- Skipping a bonding agent or scratch coat — the single biggest cause of the bond failure covered in our render falling off guide
- Applying render in unsuitable weather — too hot, too cold or too wet, all of which affect curing and long-term durability
- Choosing render purely on price — the cheapest sand and cement quote isn't always the cheapest option once repeat maintenance and shorter lifespan are factored in
- Not checking contractor accreditation — many render manufacturer guarantees are void if the installer isn't an approved applicator for that specific system
How Disruptive Is Re-Rendering?
Beyond cost, disruption is the factor homeowners most underestimate going into a re-render. A full re-render typically means:
- Full scaffold around the property for the entire 1–3 week duration, not just a few days
- Significant noise and dust during the strip-out phase, particularly with mechanical removal methods
- Windows and doors sealed with dust sheeting for extended periods
- Garden and driveway access restricted while scaffold and material storage are in place
- Weather dependency — heavy rain or frost can pause work at several stages, extending the overall timeline
A wall coating applied over existing sound render involves the same scaffold and preparation principles, but without the strip-out, multiple build-up layers and extended drying windows — which is why it's typically completed in 3–7 days rather than 1–3 weeks.
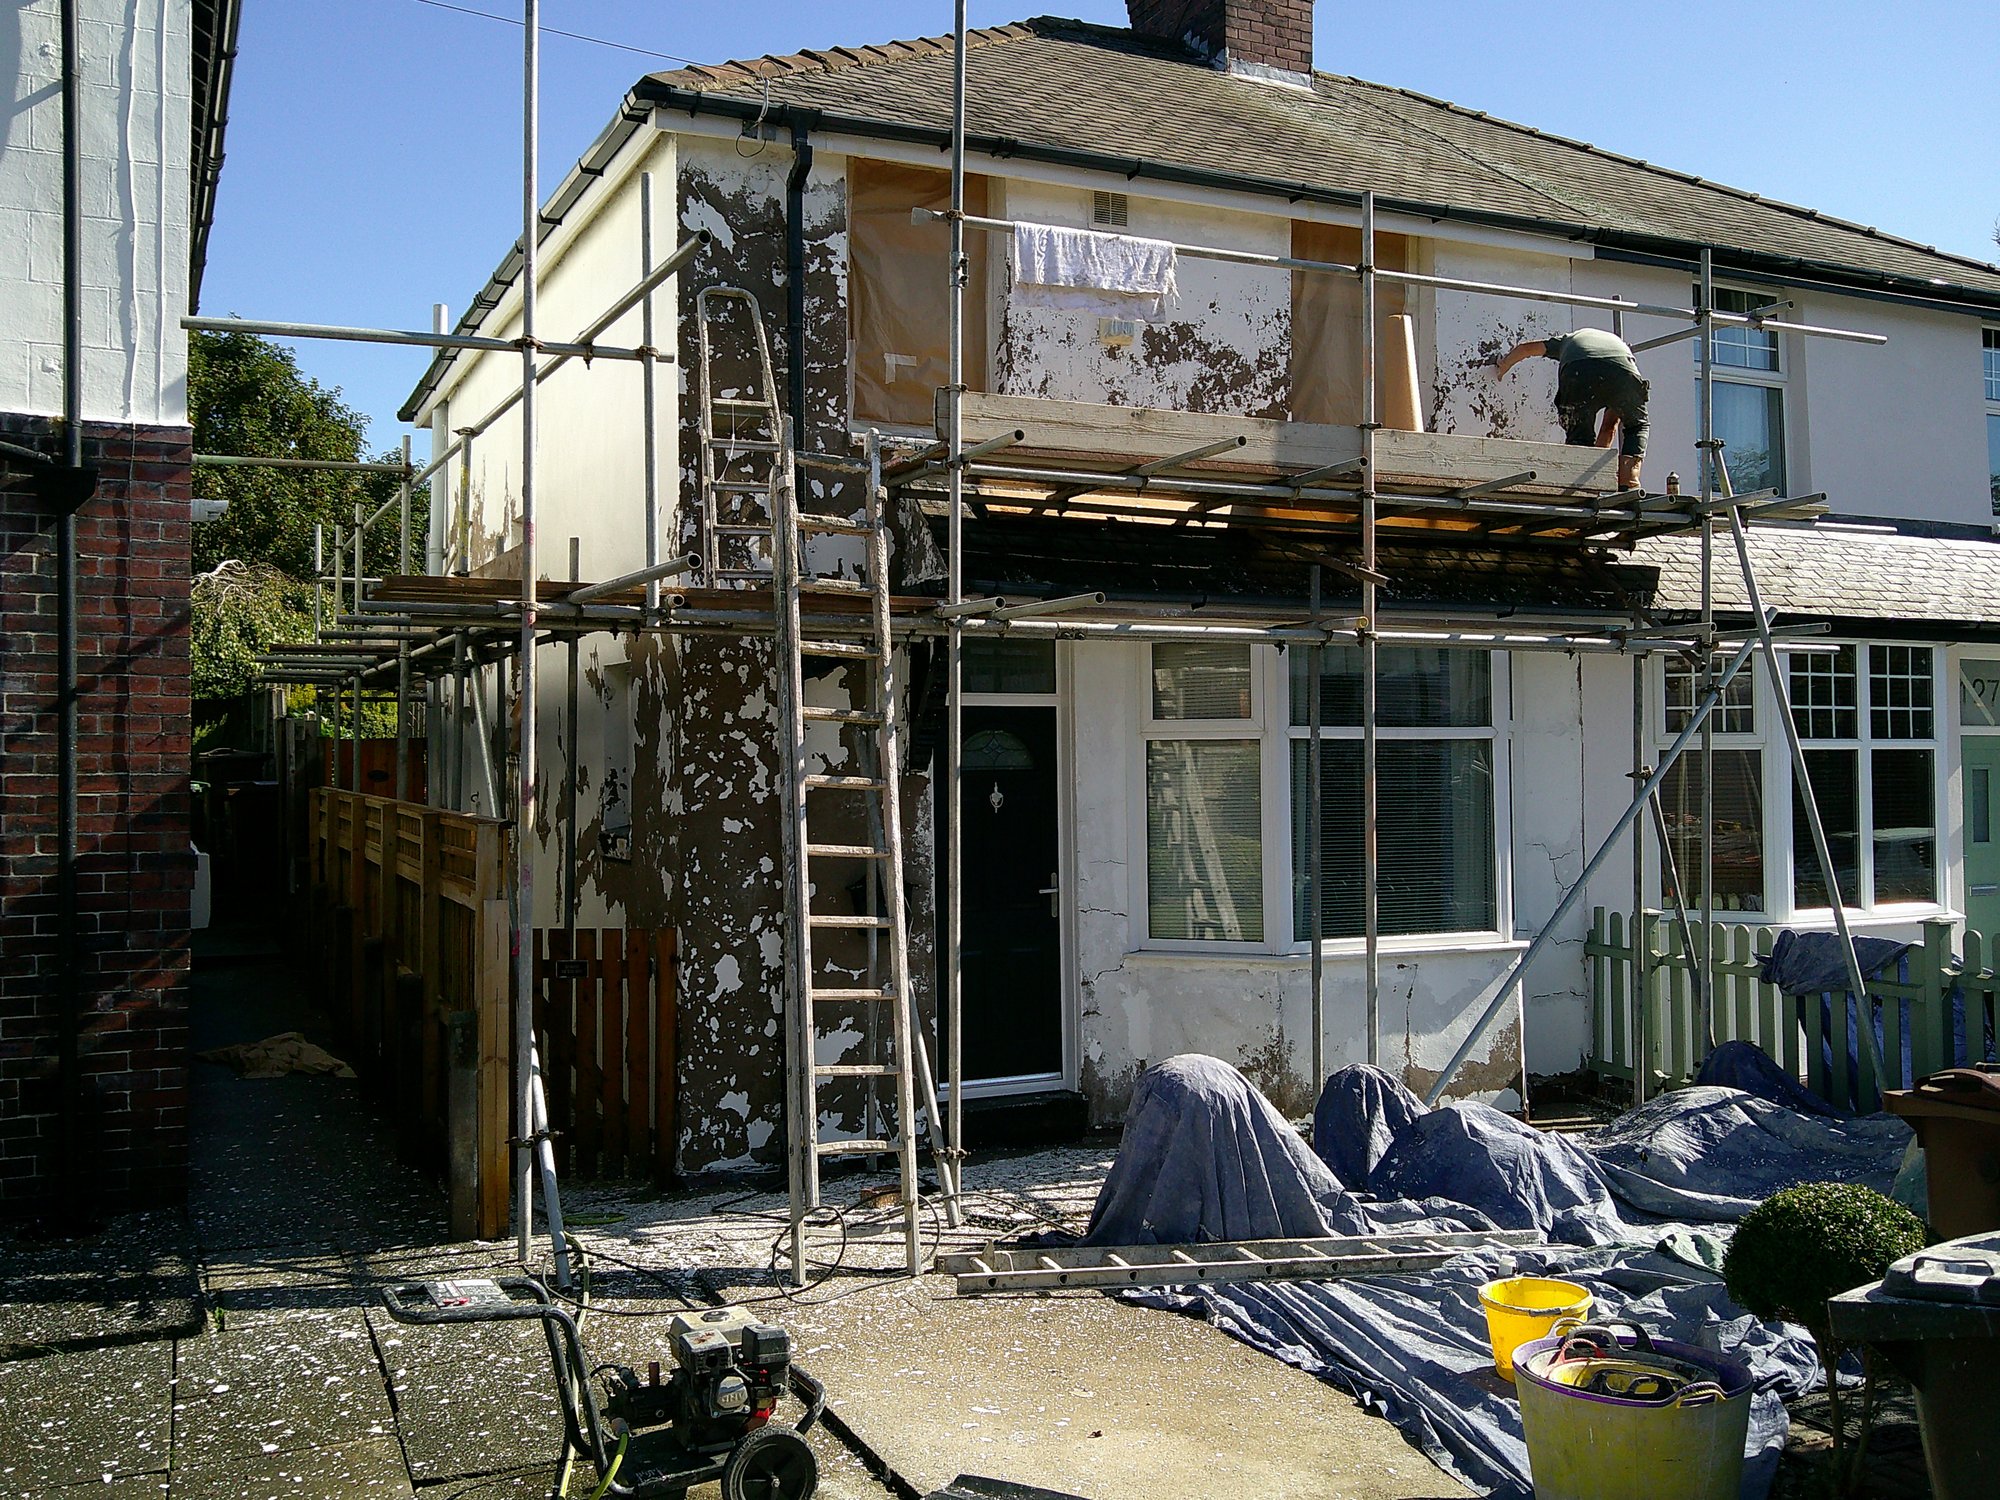
The Better Alternative for Most Properties
Where the existing render is fundamentally sound — even if it's cracked, dated-looking, or has areas of algae or staining — a wall coating achieves a comparable visual transformation and the same 20-year guarantee, without the cost and disruption of full removal. The coating repairs any failed sections, then seals the entire wall under a flexible, waterproof, 20-times-thicker-than-paint finish that also bridges minor existing cracking.
For the full head-to-head on cost, disruption and guarantees, see our wall coating vs rendering comparison.
Related Guides
Frequently Asked Questions
A full re-render typically takes 1–3 weeks depending on property size, the render system used, and weather conditions, since each layer needs adequate drying time before the next is applied. Larger properties or those needing extensive substrate repair before rendering can take longer. A wall coating applied over sound existing render is usually faster, typically 3–7 days.
For most standard houses, re-rendering falls under permitted development and doesn't need planning permission, provided the new render's colour and appearance are broadly in keeping with the surrounding area. Listed buildings, properties in conservation areas, or those with existing planning restrictions may need consent — check with your local authority or a surveyor before starting work if in doubt.
Yes, and it's a genuinely sensible option where only one elevation is failing while the rest of the property's render is sound. The main consideration is colour and texture matching so the new section doesn't stand out — new render often dries a slightly different shade to older, weathered render nearby, so this is worth discussing with your contractor before work starts.
No — this is one of the most common misconceptions in the industry. Fine, cosmetic cracking across an otherwise sound wall can often be repaired and sealed under a wall coating rather than requiring full removal and replacement. A full re-render is really only necessary where bond failure is extensive, or the underlying render system itself is fundamentally wrong for the wall. A proper tap test survey will tell you which situation applies.
Re-rendering strips back existing render entirely and rebuilds a new render system in layers from the substrate up. A wall coating is applied over existing, sound render or masonry as a sealing, waterproofing top layer, without needing full removal. Coating is typically less disruptive, faster, and lower cost, but does require the wall underneath to be structurally sound to begin with — which is exactly what a free survey confirms.
Yes — Pinnacle covers all of England and Wales. Use our suitability checker or call us free on 0333 772 3623 to confirm coverage for your postcode and arrange a free, no-obligation survey and tap test.
Find Out If You Really Need a Full Re-Render
Our free suitability checker takes less than 60 seconds. Book a free survey — our surveyor will tap-test your walls, give you an honest recommendation, and provide a fixed all-in price. Covering all of England and Wales. No obligation to proceed.